Now that we are leaving the holiday indulgent eating season behind us and embracing the new year with a newfound resolution to eat healthfully I thought a kale recipe was in order. Kale chips are a go-to favorite of mine because they are easy, delicious and nutrition-packed. They are a great food to munch on with friends, as an energy-packed snack or when you get back to hitting the books as I will be doing in a couple of weeks and don't have a much time. Try these out and let me know what you think!
Ingredients:
- 1 head of kale - curly or lacinato variety can be used
- Olive oil
- Salt and pepper to taste
- GF bread crumbs
- Optional - Grated cheese (a hard cheese such as Parmesan or Romano works best)
- Optional - Additional spices/seasoning to taste
Depending on the size of the head of kale used this makes 4-8 appetizer/snack-sized servings.
Directions:
- Preheat over to 350 degrees. If your oven cooks hot go for 325 degrees.
- Wash and dry Kale. Cut or rip pieces approximately 2 inches in size. They do not need to look uniform, just aim for similar sizes. Remove the stem/rib while doing this since this part is more fibrous and it will not cook as fast as the leaves. You can reserve stems pieces for stock, soup or another cooked veggie dish.
- Place kale in a bowl and add in enough olive oil to lightly coat most of the kale. If too much oil is used the chips will end up greasy and soggy.
- Add in salt and pepper to taste and a generous sprinkle of breadcrumbs. If you are using cheese also add in a generous sprinkle of grated cheese. Toss the mixture with a spoon (your hands will work even better) until all leaves are lightly coated with oil and the toppings are mixed evenly through out.
- Cover a baking sheet with parchment paper and place kale chips on the paper in a single even layer. Do not pile chips on top of each other or they will not cook properly. Depending on the size of the bunch of kale you will likely need two or more baking sheets or you can cook the chips in batches.
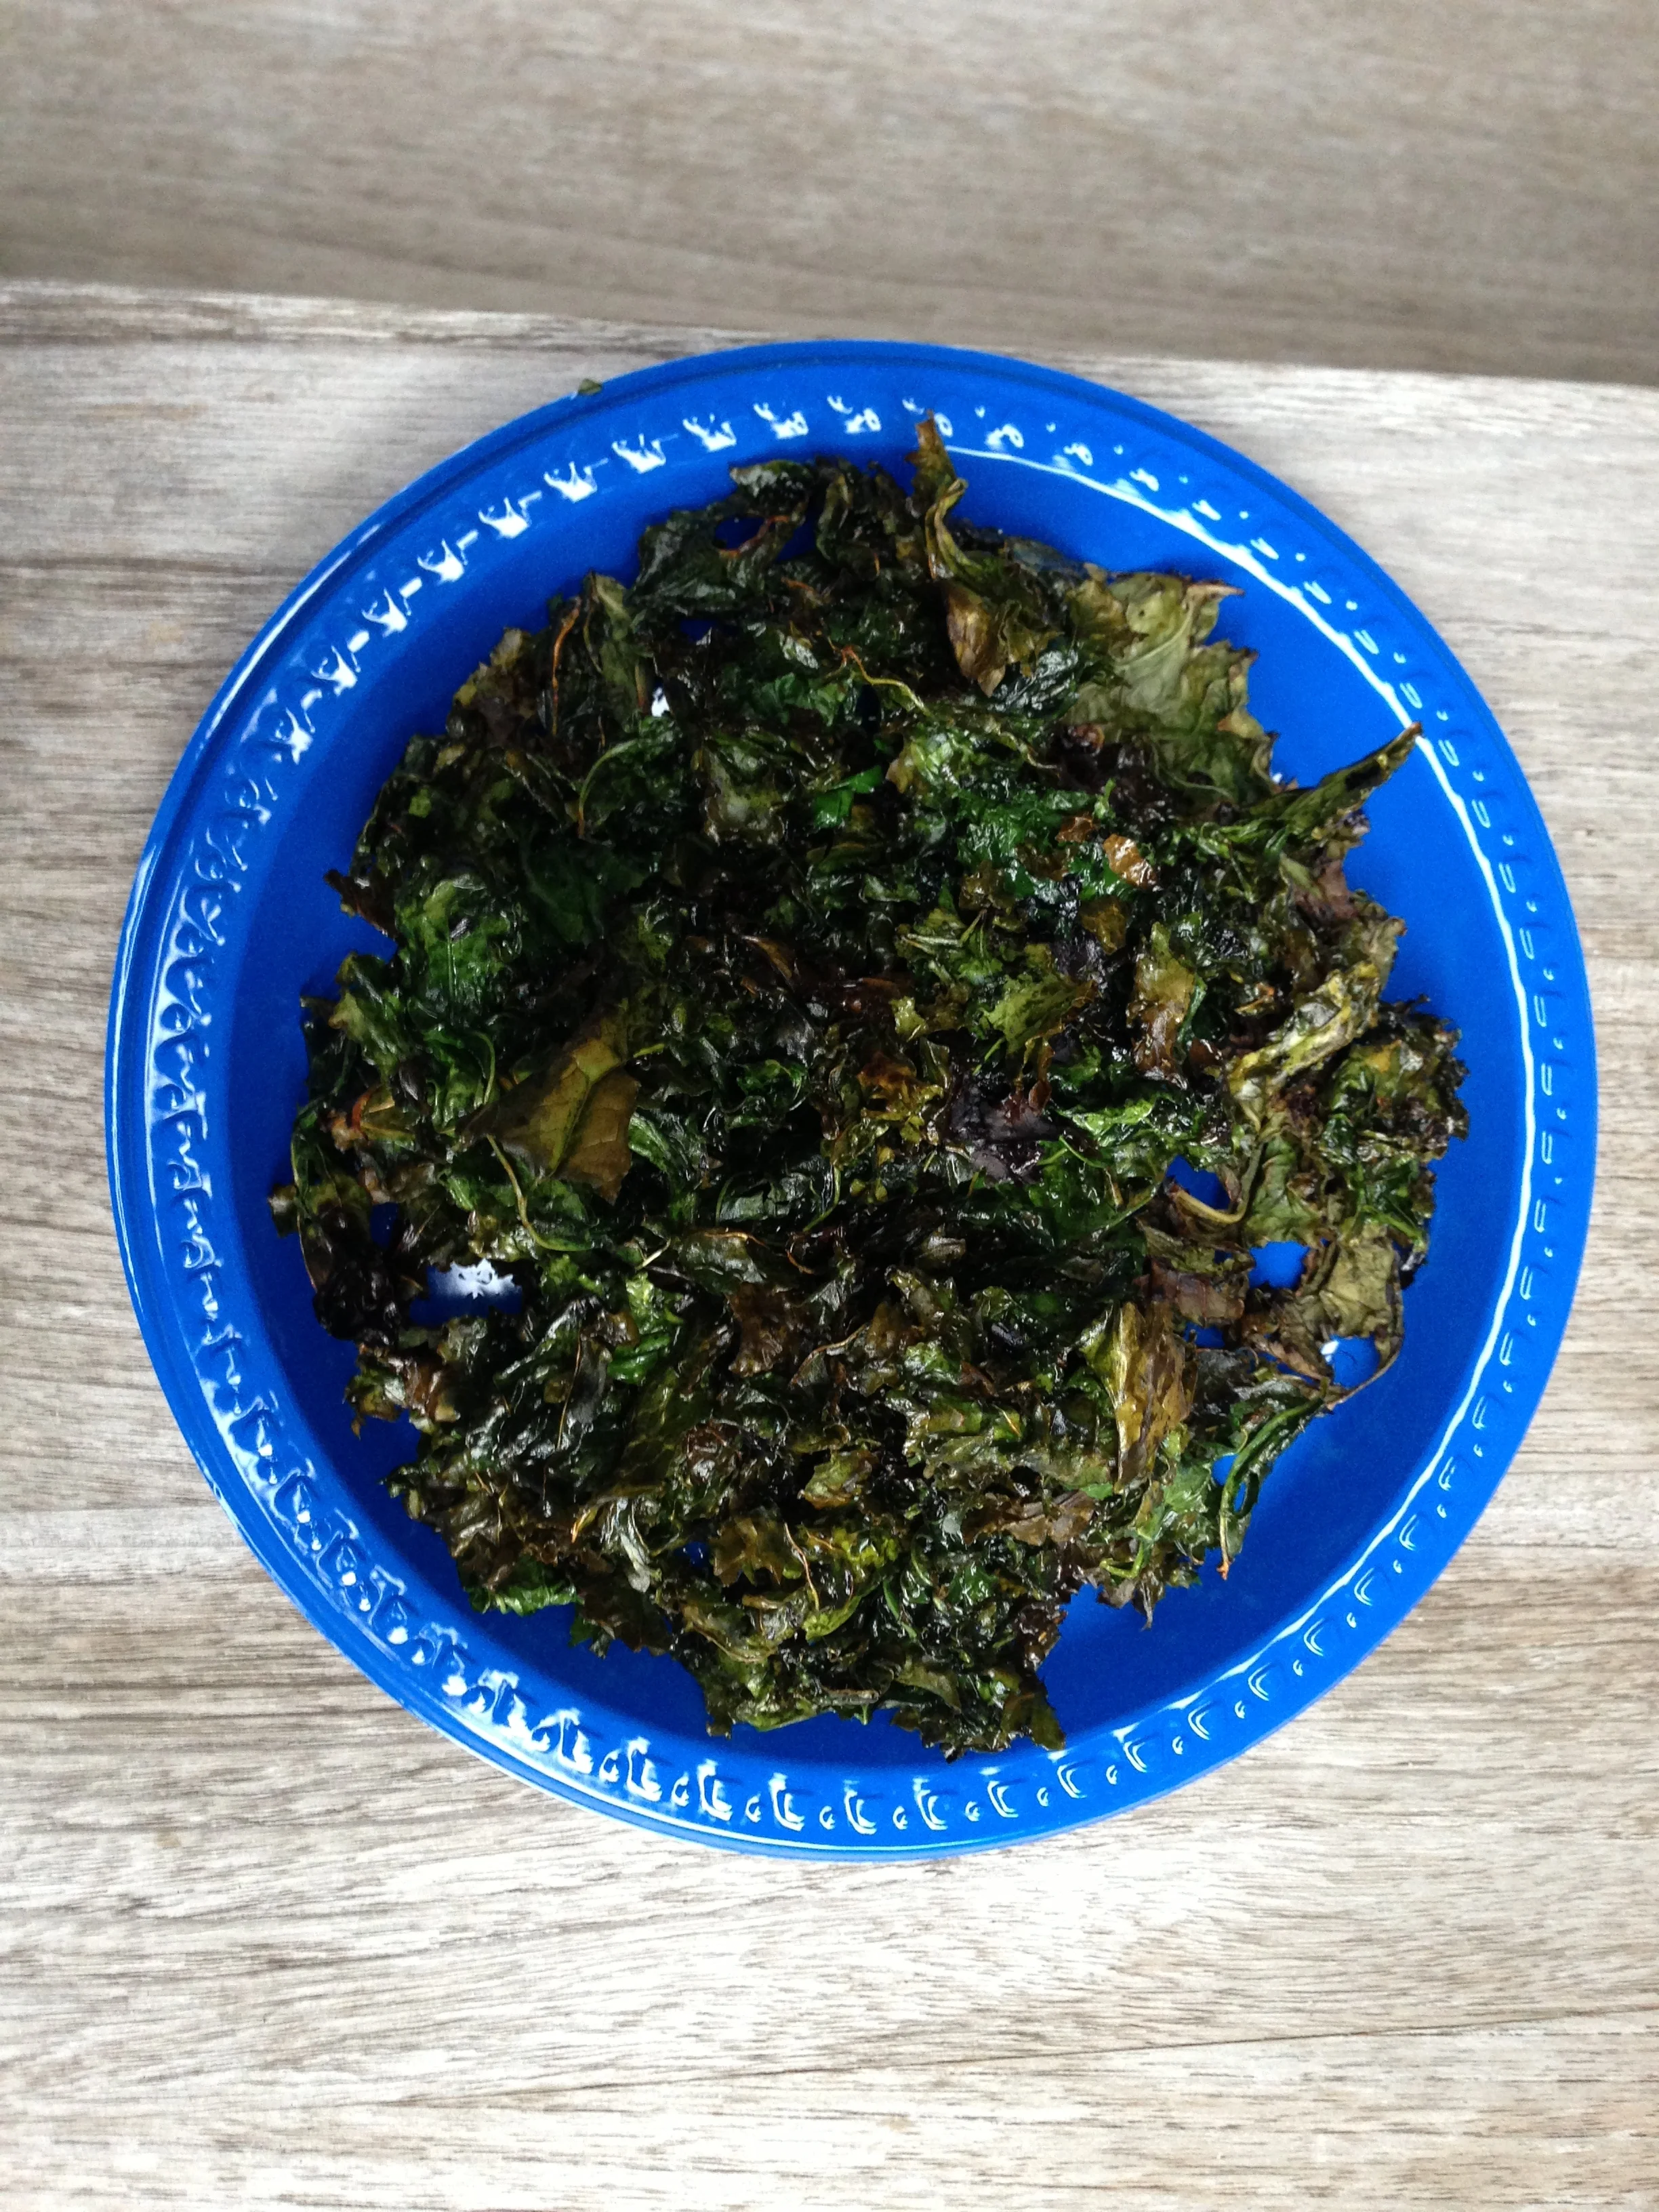
- Cook for approximately 15 minutes or until the chips are just dried out. They will be crispy but not brown, if the color darkens to black or brown they will taste burnt. The goal is to take most of the moisture out so they are light and crunchy. Do taste test them to be sure they are done.
- Enjoy immediately. If you somehow manage to end up with any extra, store in the airtight bag or container in the refrigerator to prevent from going rancid. They do not generally retain their crispiness for a long time (unless you use a dehydrator) so it is optimal to make as much as you expect you will eat.
Variations:
- For dairy free option - skip cheese or use nutritional yeast instead of cheese to keep it vegan. This will give you a similar taste and texture as when grated cheese is used.
- For flavored chips - experiment with seasoning the chips. Try out spices and herbs you enjoy and have in your pantry. Some good options are: cumin, oregano, chili powder, red pepper flakes, etc. To make an Asian flavored version try sesame seed oil, tamari sauce and sesame seeds.
- Play around with the cooking method - you can do the chips at a lower temperate for a longer amount of time which reduces the risk of burning and can cook more evenly. If you have access to a barbecue you can do them on the grill on a piece of foil at a lower temperature - be sure to watch them closely.